Guepard / Migrate to Guepard
Importing a Supabase Database into Guepard Platform
Run a smooth migration from Supabase to Guepard's PostgreSQL environment using pg_dump and pg_restore.
This guide explains in detail how to migrate a database from Supabase to the Guepard Platform's PostgreSQL environment. We use pg_dump and pg_restore, which are standard PostgreSQL tools for exporting and importing databases. This document provides step-by-step instructions, including troubleshooting tips and example outputs.
Prerequisites
Before proceeding with the migration, ensure you have the following:
A Supabase project containing the database you want to migrate.
A Guepard project with a PostgreSQL database where you will import the data.
pg_dump and pg_restore installed on your local machine. These utilities come with PostgreSQL installations. To verify, run:
pg_dump -VEnsure your Guepard PostgreSQL instance is running and accessible.
A backup of your Supabase database for safety purposes.
Important Note
Always back up your Supabase database before performing any migration to avoid accidental data loss.
Step 1: Retrieve Supabase Connection Details
To export your database, you need Supabase connection details:
- Log in to your Supabase account and navigate to your project dashboard.
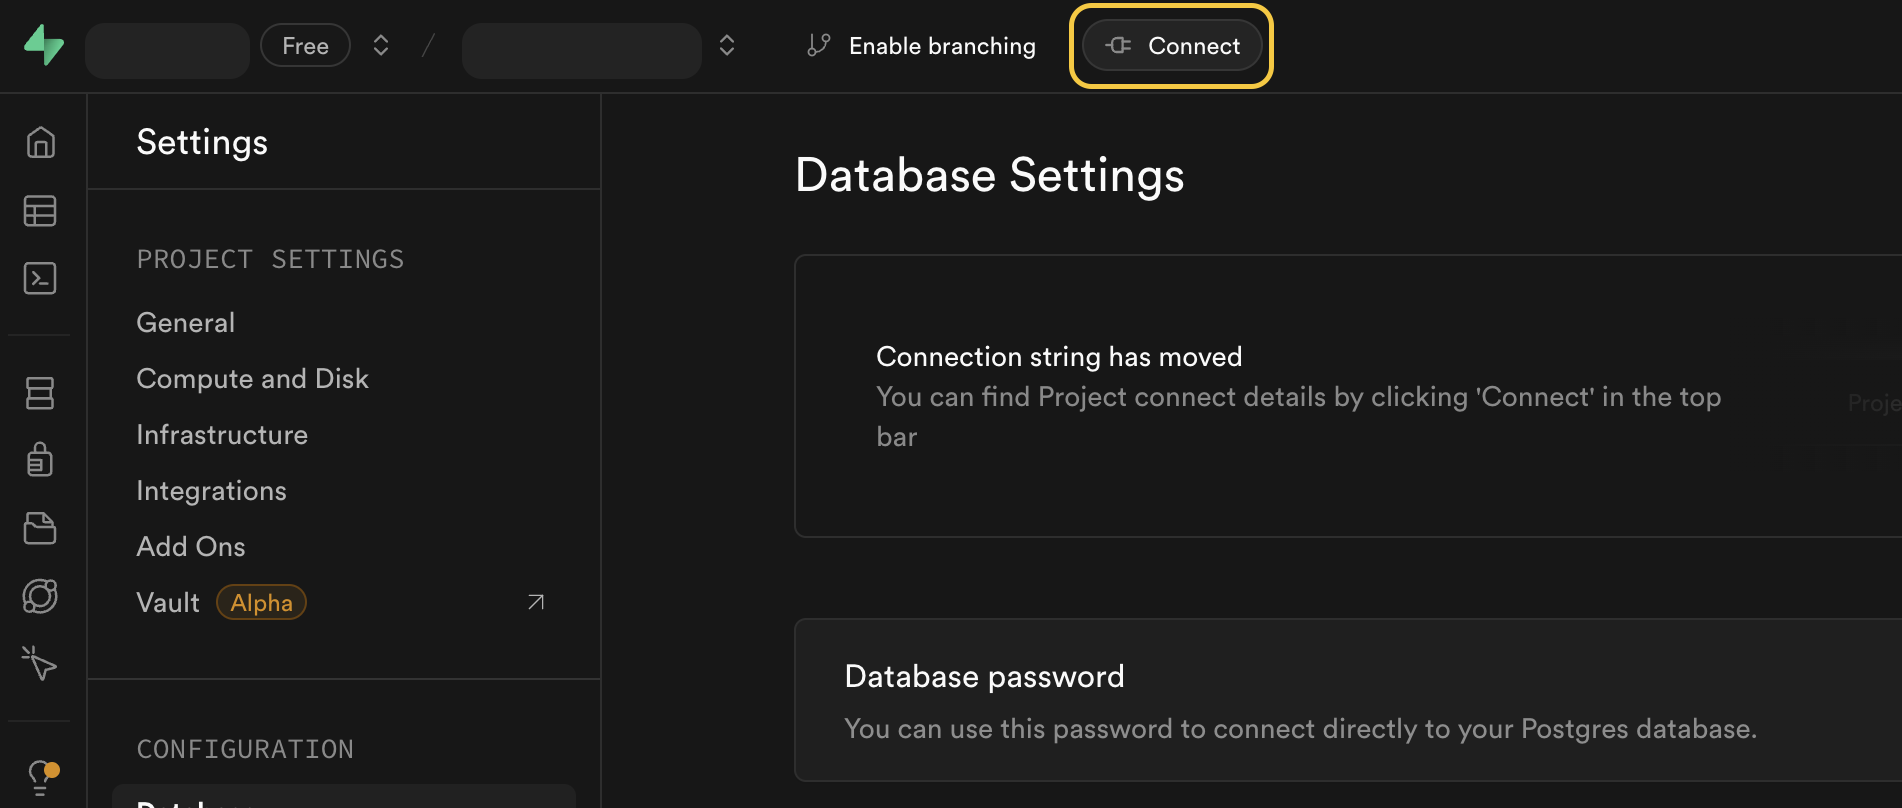
- In the left sidebar, click on Project Settings > Database.
- Under Connection Parameters, find:
- Host
- Database name
- Port (default is 5432)
- User
- Password (not visible; reset if necessary from database settings)
Construct your database connection string:
postgresql://[user]:[password]@[supabase_host]:[port]/[database]
Tip: Make sure you use an unpooled connection string to avoid errors related to connection limits.
Step 2: Export Data from Supabase
To back up your database, use pg_dump with the following command:
pg_dump -Fc -v -d "postgresql://[user]:[password]@[supabase_host]:[port]/[database]" --schema=public -f dump_001.bak
Tip: If you want to include additional schemas, use
--schema=your_schemamultiple times
Explanation
-Fc: Dumps in custom format (compressed, optimized for pg_restore).-v: Enables verbose mode for progress tracking.-d: Specifies the connection string.-f dump_001.bak: Saves the dump file locally.--schema=public: Dumps only thepublicschema (modify if necessary).
Example Output
pg_dump: saving encoding = UTF8
pg_dump: saving database definition
pg_dump: dumping contents of table "public.users"
pg_dump: dumping contents of table "public.orders"
pg_dump: dumping contents of table "public.products"
pg_dump: finished successfully
Technical Notes
For large databases, consider running pg_dump on a server with sufficient resources to avoid performance issues.
Step 3: Prepare the Database in Guepard
- Connect to your Guepard PostgreSQL instance using
psqlor another PostgreSQL client. - Follow this link to learn how to create a new database in Guepard: Create a new database in Guepard.
- Retrieve the Guepard PostgreSQL Connection String from your project settings.
- Ensure your database is using the same PostgreSQL version as Supabase to avoid compatibility issues.
Step 4: Import Data into Guepard PostgreSQL
Run the following command to restore the database to Guepard:
pg_restore -d "postgresql://[user]:[password]@[guepard_host]:[port]/[guepard_db]" -v --no-owner --no-acl supabase_dump.bak
Tip: If you need to reset the database before restoring, use
--cleanto remove existing objects.
Explanation
-d: Specifies the destination database.-v: Enables verbose output.--no-owner: Skips setting ownership to match the Supabase database.--no-acl: Skips restoring access control privileges (roles, permissions).
Example Output
pg_restore: connecting to database for restore
pg_restore: creating SCHEMA "public"
pg_restore: creating TABLE "public.users"
pg_restore: creating TABLE "public.orders"
pg_restore: creating TABLE "public.products"
pg_restore: finished successfully
Schema Conflicts
If the schema already exists in Guepard, use --clean to drop existing objects before restoring.
Step 5: Verify the Migration
Connect to your Guepard PostgreSQL instance using
psqlor a GUI like pgAdmin.Run queries to verify the migrated data:
SELECT COUNT(*) FROM users;
SELECT * FROM orders LIMIT 5;
Compare results with Supabase to confirm data integrity.
Check if indexes, constraints, and foreign keys are properly restored:
\d users
\d orders
Final Thoughts
This guide ensures a smooth transition from Supabase to Guepard’s PostgreSQL environment while maintaining data integrity and minimizing downtime. For advanced configurations, refer to the PostgreSQL documentation on pg_dump and pg_restore.
If you encounter any issues, refer to the PostgreSQL official documentation or Guepard’s support team for assistance.
Happy migrating! 🚀