Guepard / Deploy & Use
Step-by-Step Guide to Using the Guepard Platform
Guepard simplifies database management with its serverless managed database platform. This step-by-step guide walks you through the essential processes, from setting up your first database to integrating with your applications.
Step 1: Setting Up Your Guepard Account
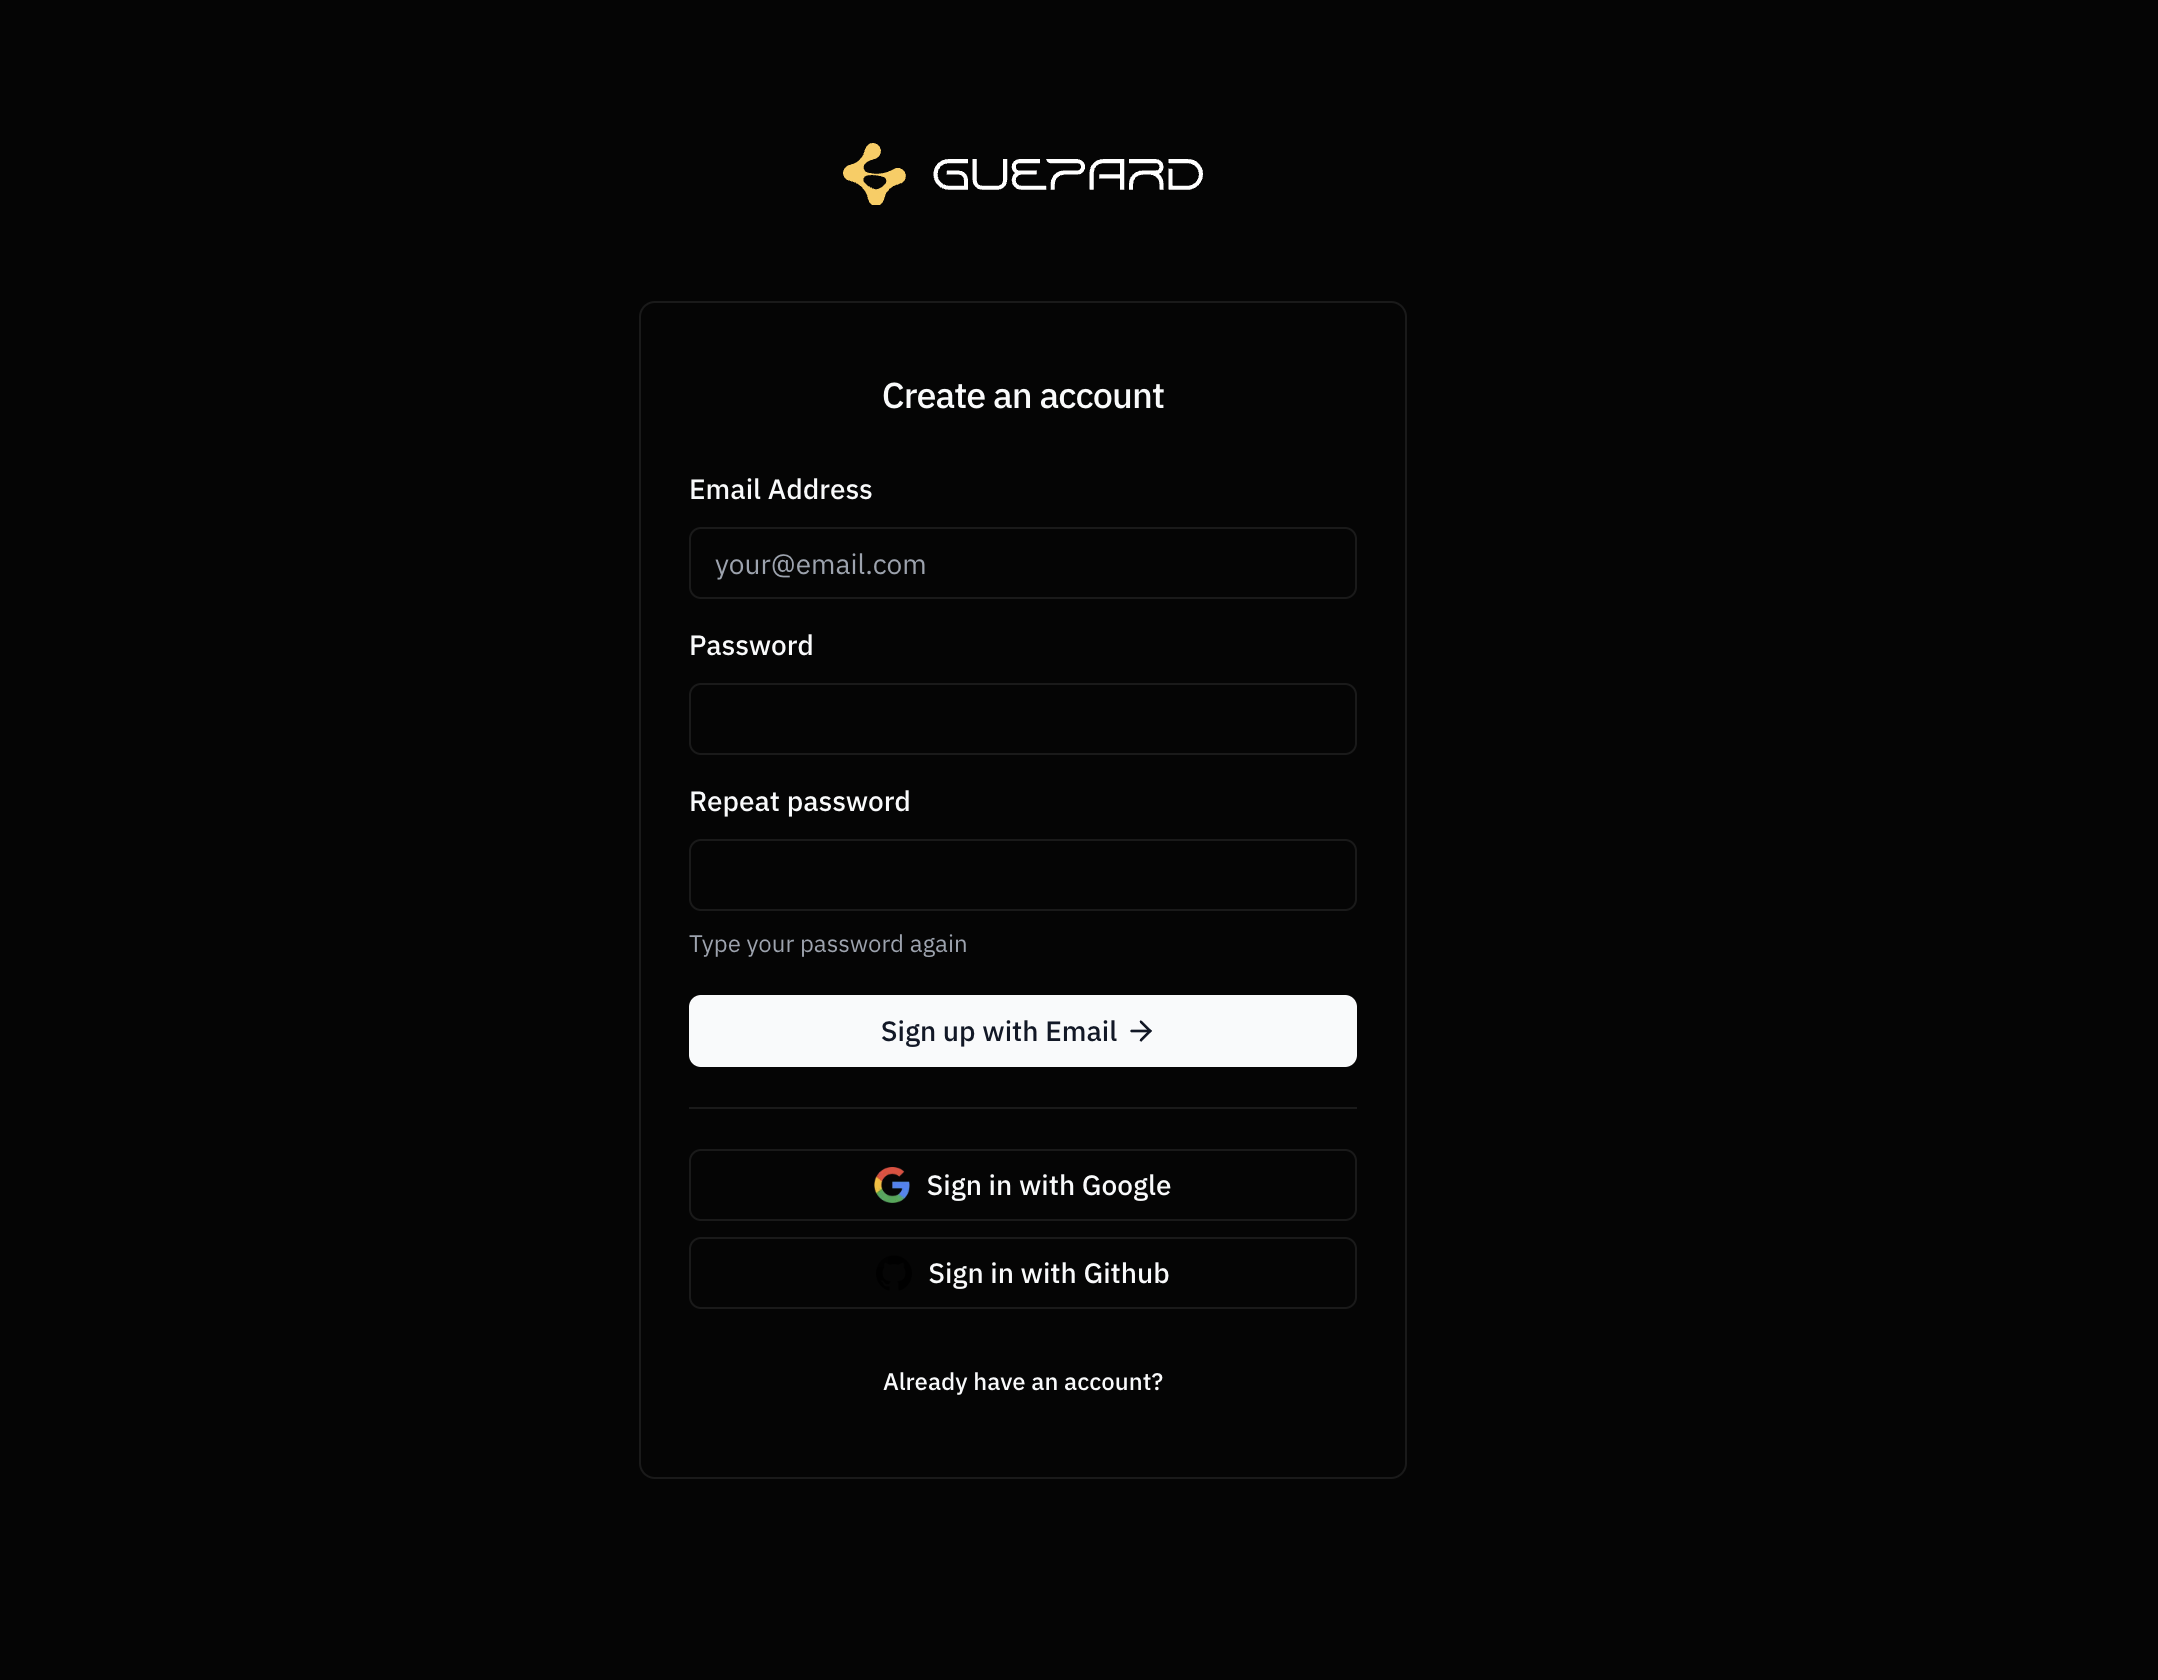
- Sign Up: Go to the Guepard registration page and create an account.
- Verify Your Email: Check your inbox for the verification email and confirm your account.
- Login: Access the Guepard dashboard with your credentials.
💡 Tip: Use a strong password and enable two-factor authentication (2FA) for added security.
Step 2: Creating Your First Database
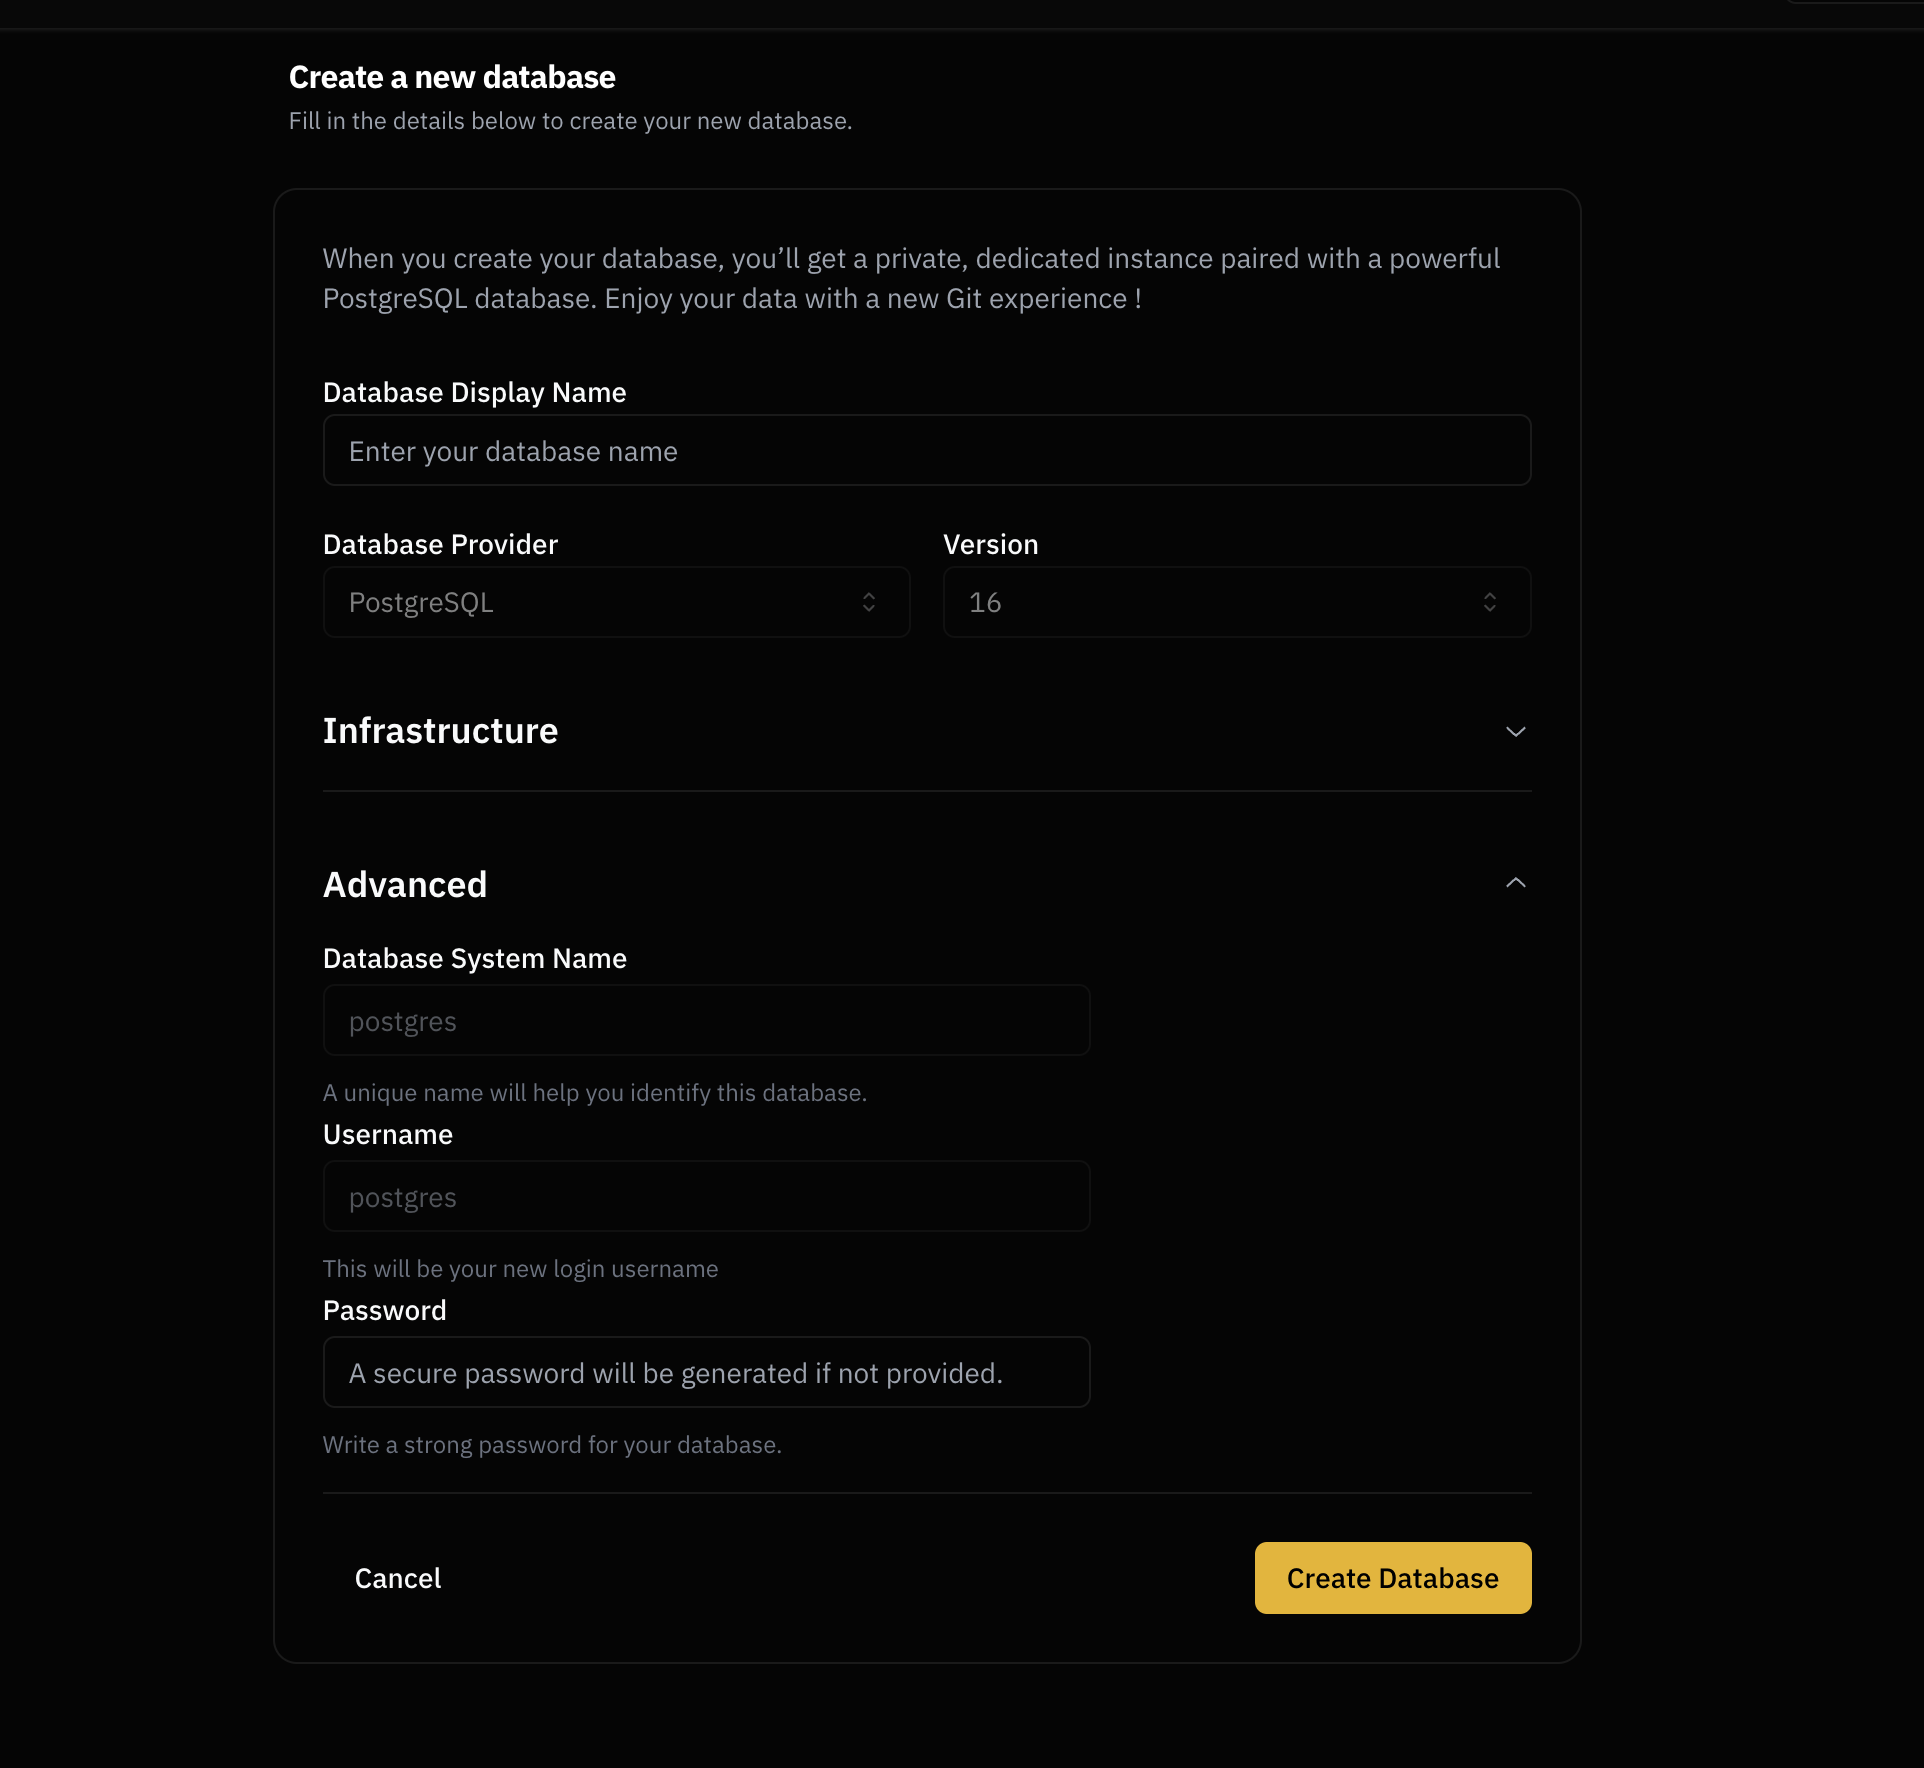
- Navigate to the Dashboard: Once logged in, go to the Databases section.
- Click on 'Create Database': Provide a name and select the desired database engine (PostgreSQL...).
- Configure Settings:
- Choose the region for optimal latency.
- Enable automated backups if needed.
- Deploy: Click Create, and Guepard will provision your database instantly.
⚡ Note: Guepard’s serverless infrastructure ensures you only pay for the resources you use.
Step 3: Connecting to Your Database
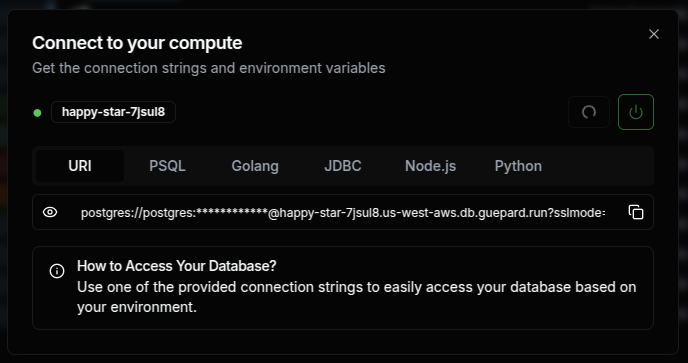
- Retrieve Connection Details: In the Databases section, find your newly created database and copy the connection string.
- Use a Database Client:
- For PostgreSQL, use
psqlor GUI tools like DBeaver or PgAdmin.
- For PostgreSQL, use
- Authenticate & Connect: Enter your database credentials and establish a secure connection.
🔐 Security Tip: Always use encrypted connections (SSL/TLS) when accessing your database.
Guepard provides a scalable, secure, and automated way to manage databases effortlessly. By following these steps, you can set up, connect, and automate your databases in minutes.
Need help? Check out our Subscribe to our featurebase or Contact our support team for expert guidance!